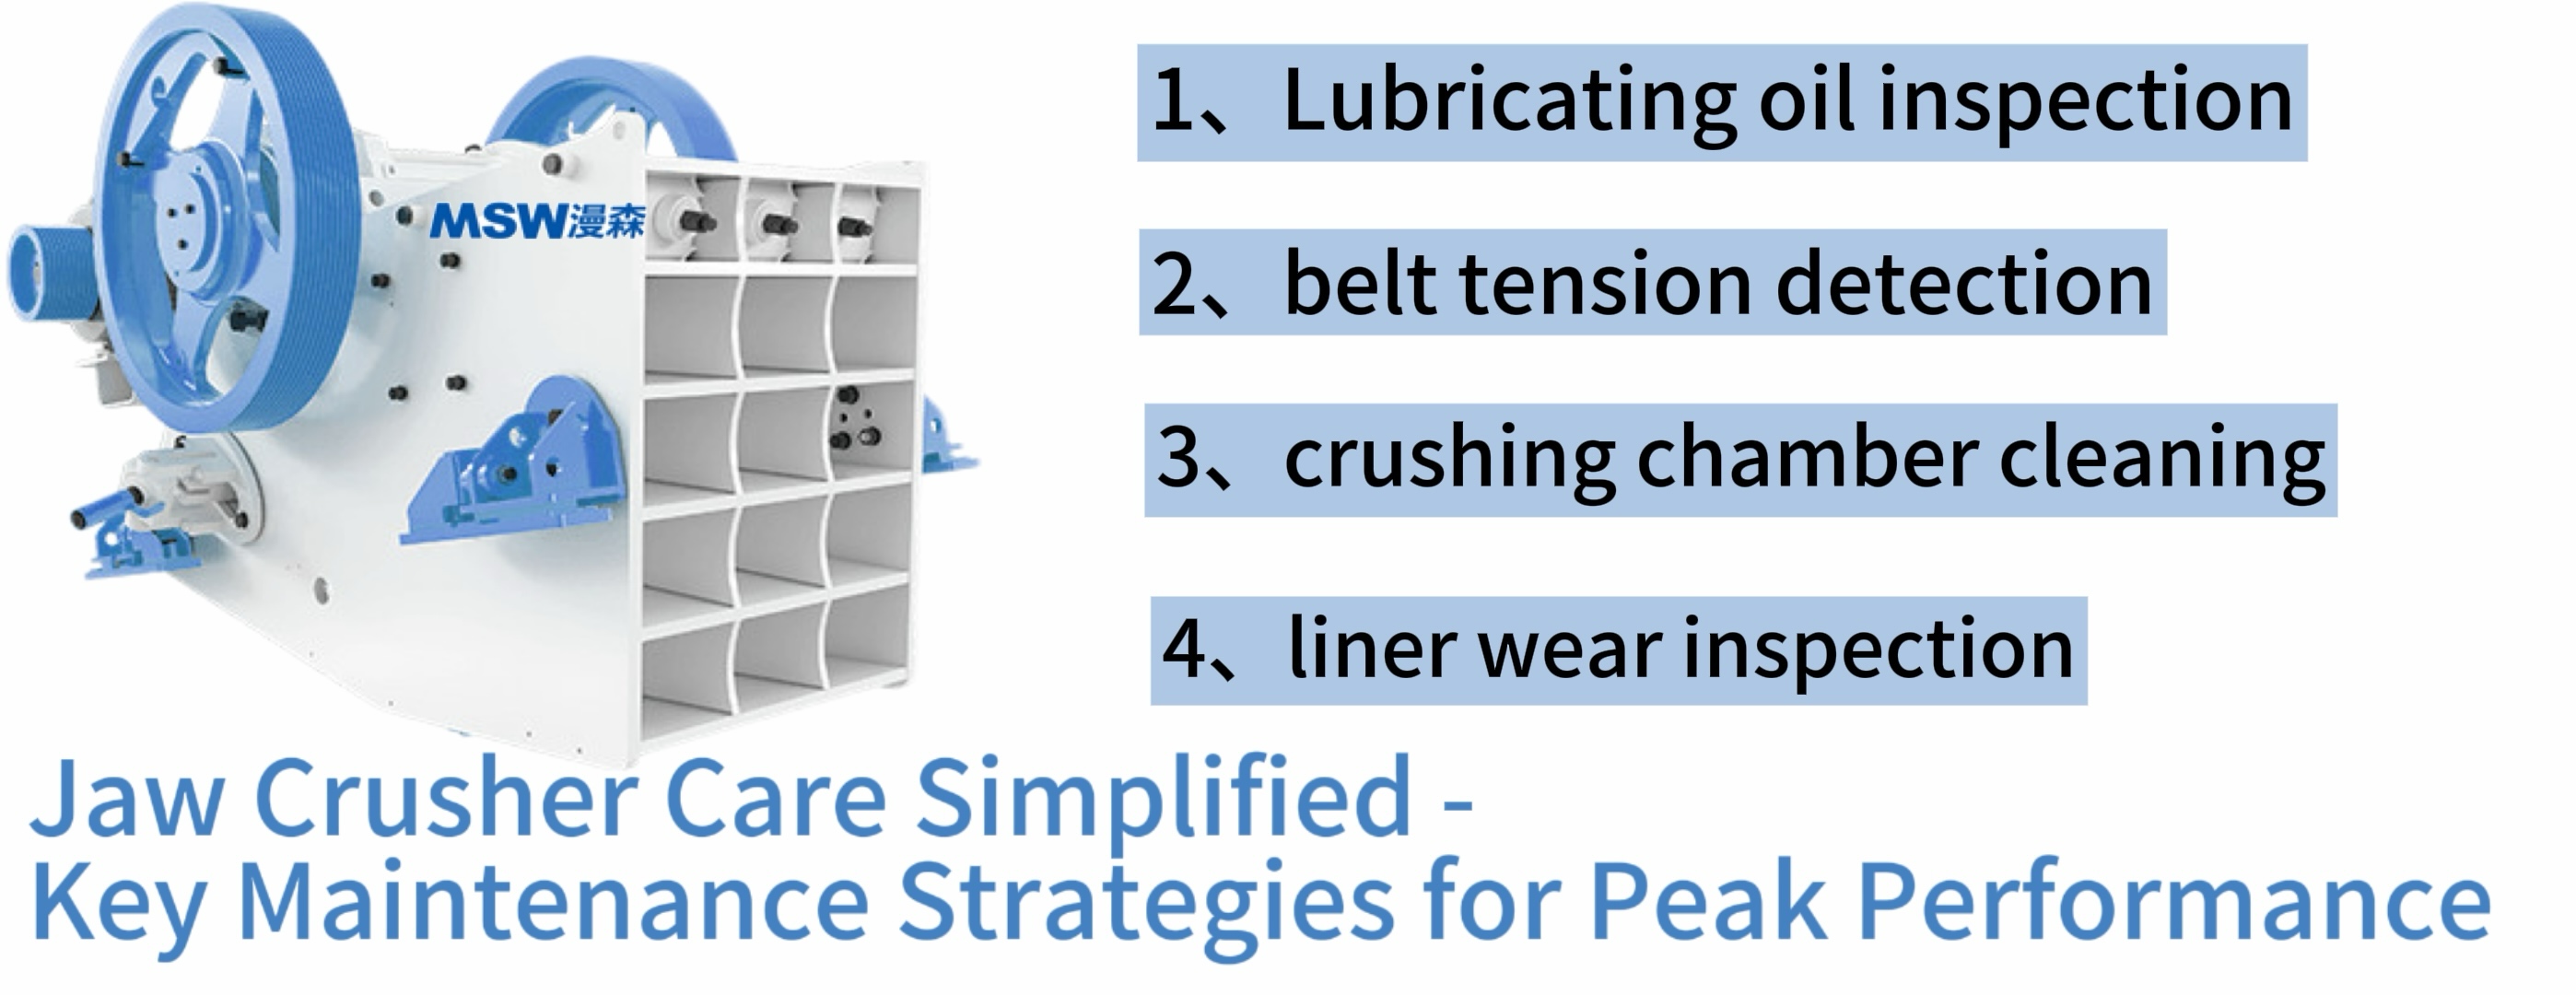
Jaw Crusher Care Simplified - Key Maintenance Strategies for Peak Performance
A Jaw Crusher does not merely crush rock; it negotiates a never-ending conversation between geometry, metallurgy and raw geology. When that conversation falters, the entire production chain begins to stutter. The aim of this guide is therefore to transform maintenance from a reactive scramble into a predictive discipline, adding thousands of productive hours to the machine and subtracting just as many from downtime ledgers. The text that follows is intentionally exhaustive, because a quarry that knows its crusher intimately will always outperform one that merely runs it.
Before any spanner is lifted, it helps to picture the crusher as three concentric circles of responsibility. The innermost circle is the operator, who lives with the machine hour by hour and must detect the first tremor of distress. The middle circle is the maintenance technician, who translates those tremors into scheduled interventions. The outermost circle is the reliability engineer, who harvests decades of data to redesign the future. Every sentence below is written to serve all three circles without patronising any of them.
Daily Inspection & Basic Upkeep – The First Line of Defence
Each morning the quarry is colder, the steel is stiffer and the smallest oversight is magnified. Begin the inspection while the surrounding air is still neutral; the human hand is an excellent thermometer, and a bearing that feels warmer than the surrounding metal is already protesting. Remove the inspection hatch and shine a lamp across the cheek plates; any rock fragments that did not discharge yesterday will have settled into the cavity and must be prised away before the eccentric shaft begins its first revolution.
Trace the path of the movable jaw by hand when the chamber is empty. The swing arc should describe a smooth ellipse. A judder midway through the stroke often indicates a cracked toggle seat or a loose wedge bolt. Check the wedge itself for shiny witness marks; these are the scars left by micro-movement and are an early warning that torque is migrating away from the intended clamp line.
Sound is equally revealing. Start the crusher at no load and listen for the first ten seconds. A healthy machine emits a low, even growl. Any metallic clack suggests a broken toggle plate, while a high-pitched whine may betray a dry bearing in the motor. Record the acoustic fingerprint with a smartphone; spectral apps can archive the waveform for future comparison.
After the empty run, introduce a small surge of feed at half capacity. Watch how the feed size distributes itself across the width of the chamber. A central pile overloads the pitman bearings asymmetrically, whereas a curtain of evenly spread stone keeps the load balanced. Adjust the feeder gate until the curtain is uniform; this single correction often extends bearing life by fifteen percent.
Weekly Deep-Dive Tasks
Once every seven operating days, the crusher deserves a deeper intimacy. Shut down at the end of the last shift, lock out the starter, and remove the inspection covers. The objective is to measure rather than merely observe. Use a feeler gauge to verify the gap between the fixed jaw plate and the cheek plates; any increase beyond the manufacturer’s tolerance indicates that the backing wedges have relaxed. Retorque them in a diagonal pattern to the value stamped on the nameplate, using a calibrated torque wrench whose certificate is less than twelve months old.
Next, sample the oil from the labyrinth reservoir at the non-drive end. A single drop on a white paper towel will separate into concentric rings if water is present; the darker the outer ring, the greater the contamination. If water exceeds 0.1 % by volume, trace the ingress to its source—often a failed air breather or a steam-cleaning wand that was aimed too aggressively.
Inspect the V-belts for micro-cracks at the root of each tooth. Flex each belt through 180 degrees; any crack that opens wider than one millimetre is a failure waiting to propagate. Replace the entire set rather than a single belt, because differential elasticity will overload the newcomer and shorten its life unfairly.
Critical Component Replacement & Care – Engineering Longevity
The jaw plates are the most visible consumables, yet their replacement is as much art as mechanics. Begin by photographing the worn plates in situ; the pattern of wear reveals whether the rock is entering too high or too low in the chamber. A diagonal wear scar from top-left to bottom-right suggests that the feeder is delivering a biased stream, whereas an even scallop across the entire face indicates correct geometry.
Removal starts with the wedge bolts. Slacken them half a turn, then tap the wedge lightly with a copper drift to break the corrosion bond. Never strike the wedge directly with a steel hammer; the resulting burr can prevent re-seating. Once the wedge is loose, support the plate with a chain hoist before the last bolt is removed; jaw plates weigh hundreds of kilograms and can pivot unexpectedly.
Before installing the new plates, measure the thickness at five points along the crushing surface. Variation greater than two millimetres will create stress concentrations and premature cracking. If the variation exists, return the plate to the supplier; it is cheaper to replace a single plate than to rebuild an entire frame after a fatigue failure.
The backing compound that fills the void between plate and frame deserves equal scrutiny. Mix the epoxy resin exactly as the supplier specifies; an excess of hardener accelerates curing but reduces ultimate strength. Pour the compound into the cavity through a funnel, tapping the frame with a rubber mallet to release trapped air bubbles. Allow the full cure time—usually eight hours—before tightening the wedge bolts to final torque.
Bearings – Custodians of the Eccentric Motion
The spherical roller bearings that cradle the eccentric shaft operate in a hostile environment of vibration, shock and dust. Their life expectancy is governed less by metallurgy than by housekeeping. Each bearing is supplied with a calculated L₁₀ life, but field data show that actual life can swing ±50 % depending on lubrication quality and contamination control.
When the time arrives for replacement, heat the new bearing to 110 °C in an induction heater; this expands the inner race sufficiently to slide over the shaft without hammer blows. Rotate the shaft slowly as the bearing cools to ensure uniform shrink-fit. Once seated, measure the radial internal clearance with a feeler gauge; the value must fall within the band printed on the bearing box. Incorrect clearance will either preload the rollers and generate heat, or leave excessive play that accelerates fretting corrosion.
Pack the cavity between rollers with the exact grease type specified by the manufacturer. Over-greasing is a common mistake; the churning action of excess grease raises temperature and oxidises the thickener. A good rule of thumb is to fill one-third of the void space, then add small amounts at each weekly inspection.
Flywheel & V-Belt Drive – Balancing Power Delivery
The flywheel stores kinetic energy to carry the movable jaw through the crushing stroke, but it also amplifies any imbalance in the drive. Remove the guard and spin the flywheel by hand; it should coast smoothly to a stop. Any judder indicates a buildup of mud or scale on the rim, or a missing balance weight. Clean the rim with a pressure washer and re-test.
Check the V-belt tension with a sonic tension meter; the target frequency is printed on the belt sidewall. Tension that is too low allows the belt to slip and glaze; tension that is too high overloads the motor bearings. Mark the motor base position with a scribe line so that future adjustments can be made without re-measuring.
Lubrication System Mastery – The Science of Friction Management
Oil is the lifeblood of the crusher, but only when its chemistry matches the mechanical demands. The base oil must withstand shear forces at the roller-race interface, while the additive package must neutralise acids formed by high-temperature oxidation. Select an ISO VG 220 oil with EP additives for heavily loaded bearings, or an ISO VG 68 for lightly loaded motors operating in cool climates.
Install a desiccant breather on the reservoir cap to eliminate atmospheric moisture; a single teaspoon of water can reduce bearing life by forty percent. Change the breather element when the colour indicator turns pink. Similarly, fit a magnetic plug in the drain port; the ferrous particles it collects provide early warning of gear or bearing distress.
Sample the oil every 250 operating hours and submit it to a laboratory for spectrographic analysis. The report will list ppm values for twenty elements; iron above 100 ppm or silicon above 25 ppm signals abnormal wear or dust ingress. Trend the data in a spreadsheet to predict the optimum drain interval rather than relying on arbitrary calendars.
Grease Points & Automated Systems
Manually greasing forty individual nipples is both time-consuming and inconsistent. Retrofit a single-line progressive system that meters precise doses to each bearing. The pump can be driven by a small electric motor controlled by the plant PLC, delivering grease only when the crusher is running and the ambient temperature is above 5 °C. This automation reduces grease consumption by thirty percent while improving reliability.
Map every grease point on a laminated A3 drawing and colour-code the nipples to match the reservoir labels. Operators can then perform a quick visual check during their rounds and confirm delivery by observing the indicator pin on each metering valve.
Common Fault Diagnosis & Rapid Recovery
When the crusher emits a metallic clang followed by a sudden drop in motor current, the likely culprit is a broken toggle plate. Shut down immediately and inspect the chamber; the broken halves may still be wedged between the jaws and can be removed with a pry bar. Order a replacement plate pre-machined to the exact dimensions; field welding is a temporary fix that often fails again within days.
Excessive vibration accompanied by a rise in bearing temperature points to misalignment between the motor and the flywheel. Use a laser alignment tool to measure the angular and parallel offsets; the total indicator reading should be less than 0.05 mm. Adjust the motor base by inserting precision shims under the feet until the readings fall within tolerance.
If the discharge size suddenly becomes coarser, the wear plates may have reached their discard limit, or the hydraulic adjustment cylinder may be leaking. Measure the closed-side setting with a lead wire; if the reading has increased by more than two millimetres, tighten the adjustment screws or replace the cylinder seals.
Scheduled Maintenance Program – The Calendar of Reliability
Create a master calendar that colour-codes tasks by frequency: daily (yellow), weekly (orange), monthly (blue) and annual (red). Hang the calendar inside the control room and require every completed task to be signed off with date and time. Digital photographs of critical steps—such as the torque wrench reading or the oil sample label—should be uploaded to a shared folder to create an audit trail.
For the annual major overhaul, book a crane and a certified rigger two months in advance. Disassemble the crusher completely, sand-blast the frame to bare metal, and inspect for cracks using magnetic particle inspection. Replace every fastener, even those that appear sound; the cost of new bolts is negligible compared to the risk of a fatigue failure during peak season.
Safety Protocols – The Non-Negotiable Guardrails
Before any maintenance begins, isolate every energy source: electrical, mechanical and hydraulic. Apply personal locks to the main switch and retain the keys in a group lockbox. Post a warning sign that lists the names of every person working on the machine; removal of the sign is prohibited until all locks are accounted for.
Provide each technician with a checklist that includes personal protective equipment: hard hat, safety glasses, cut-resistant gloves and steel-toed boots. For tasks inside the crushing chamber, require a full-body harness attached to a certified anchor point. Finally, rehearse an emergency evacuation drill every quarter; a two-minute delay in reaching an injured worker can turn a minor incident into a fatality.